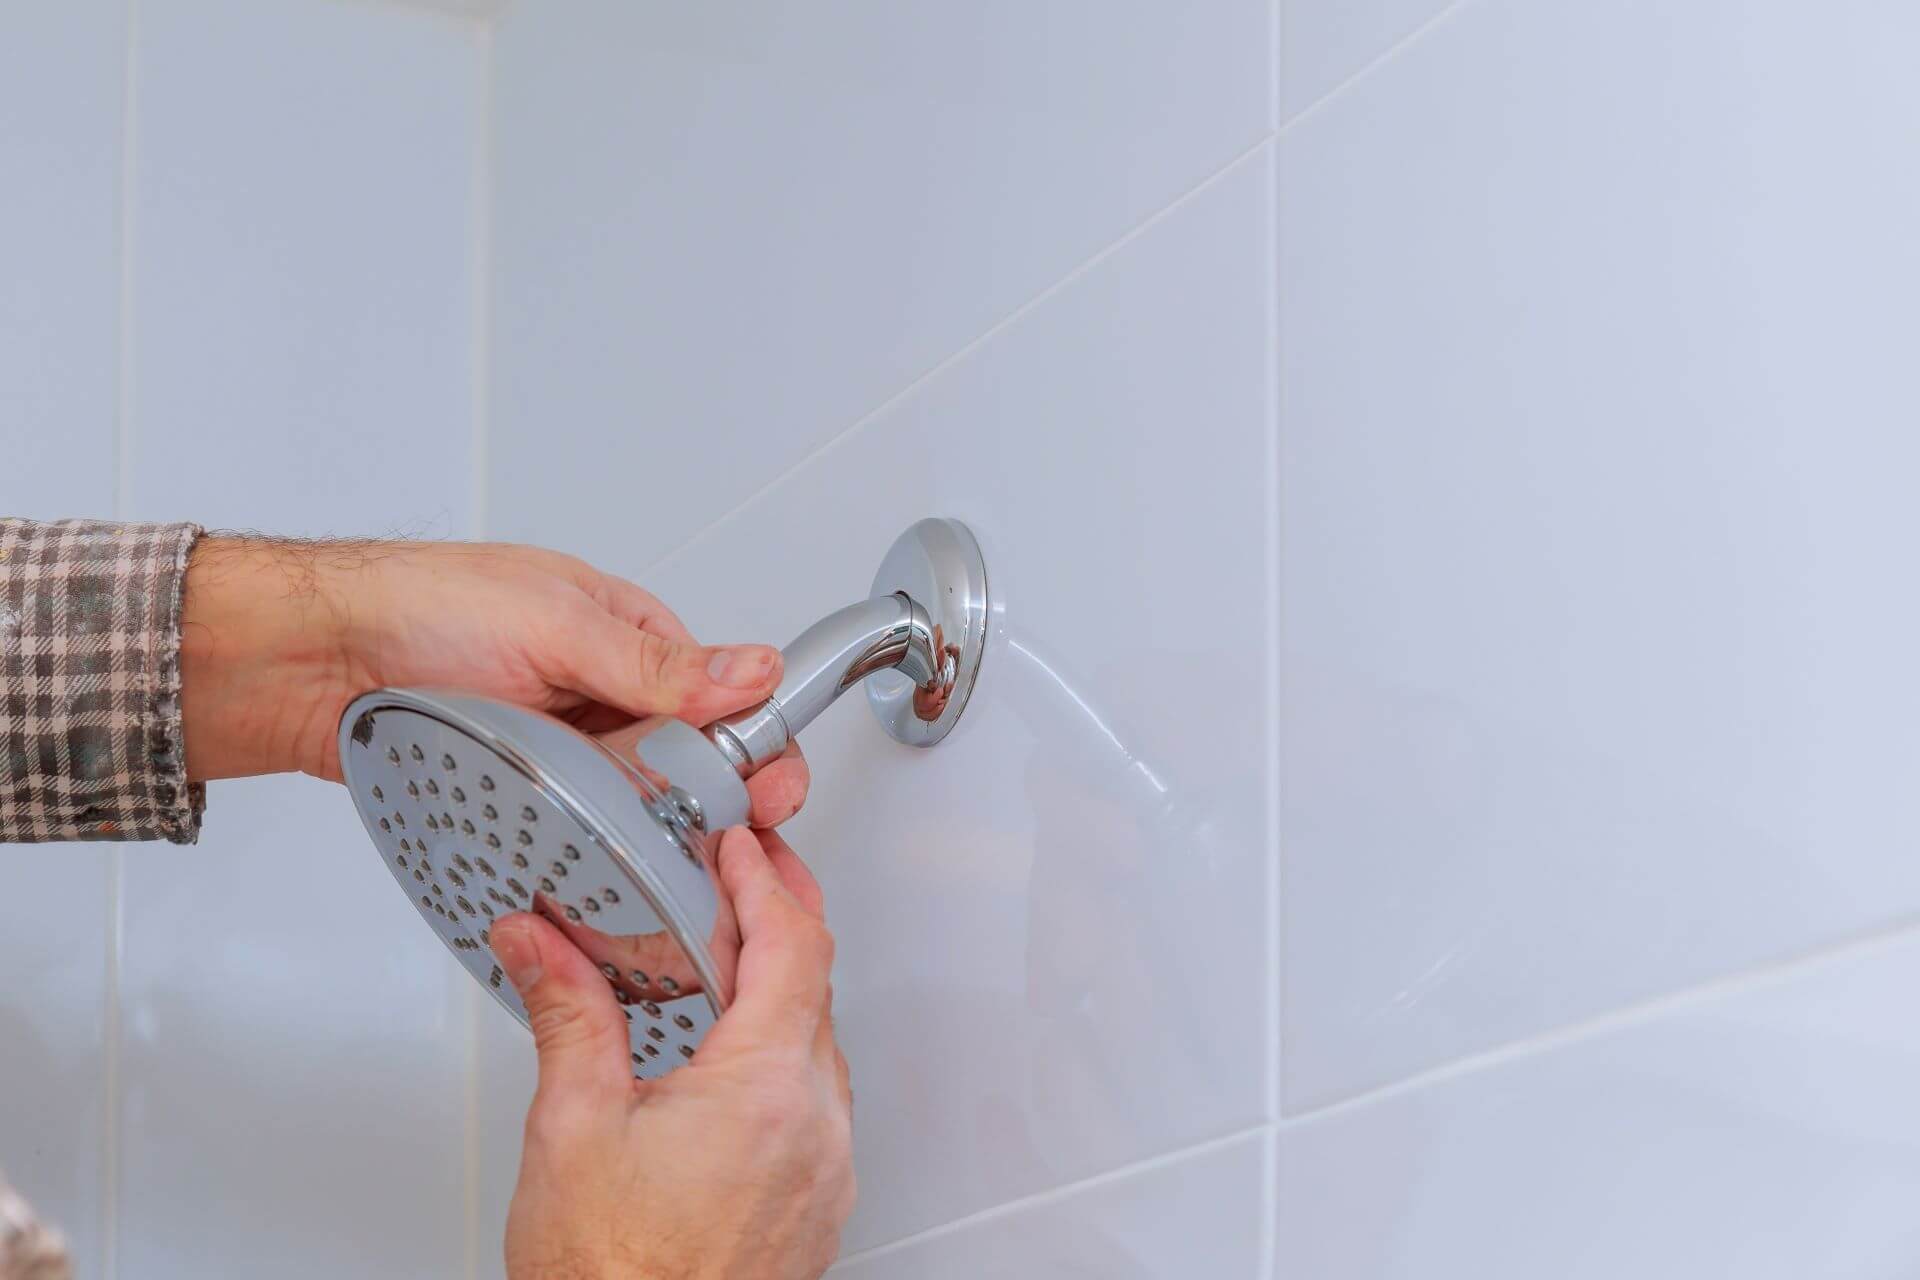
Plumbing a shower may seem like a daunting task, but with the right knowledge and approach, it can be a rewarding and empowering DIY project. Whether you're renovating a bathroom or building one from scratch, understanding the intricacies of shower plumbing is crucial for a successful installation.
In this comprehensive guide, we'll take you through the step-by-step process of how to plumb a shower, covering all the essential aspects and providing valuable tips to ensure a professional finish. As an established emergency plumber in London, Quantum are well placed to explain the below process in detail.
Please note that most of the below advice applies if you're fitting a power shower or standard electric shower.
Tools and Materials: Before diving into the installation process to fit a shower, gather the necessary tools and materials:
Tools:
- Pipe wrench: A heavy-duty tool with adjustable jaws used for gripping and turning pipes and fittings in plumbing applications.
- Adjustable wrench: A versatile hand tool with an adjustable jaw that can fit various sizes of nuts and bolts, commonly used for plumbing and general repair tasks.
- Pliers: A gripping tool with serrated jaws used for holding, bending, and cutting wires or small objects during plumbing and other mechanical work.
- Hacksaw: A fine-toothed saw with a U-shaped frame used for cutting through metal or plastic pipes during plumbing installations or repairs.
- Tape measure: A flexible ruler used for measuring distances and dimensions accurately, essential for sizing pipes and ensuring precise plumbing installations. You can't fit a shower without a tape measure!
- Pipe cutter: A specialised tool designed to cut pipes cleanly and evenly, typically used for copper, PVC, or PEX pipes in plumbing projects.
- Level: A tool used to check if a surface or object is perfectly horizontal or vertical, ensuring that fixtures and components are properly aligned during plumbing installations.
- Screwdrivers (Phillips and flathead): Essential hand tools used for driving screws into or removing them from various materials, commonly encountered in plumbing jobs.
- Drill: A power tool used for drilling holes in different materials, such as walls or wood, to accommodate pipes, anchors, or other plumbing components. If you're not comfortable using a drill to drill holes please seek expert advice.
- Hole saws: Circular cutting tools used with a drill to create large-diameter holes in various materials, useful for installing fixtures like shower heads or faucets in plumbing projects.
- Pipe and cable detector: Essential to ensure you're not going to cause any damage to existing cables or pipes.
Materials:
- Shower valve and trim kit: The essential control mechanism that regulates water flow and temperature in a shower, often paired with a trim kit to enhance aesthetics.
- Shower-head and arm: The shower head is the nozzle that emits water, while the shower arm serves as the extension connecting the shower head to the wall.
- Shower arm flange: A decorative or functional piece that conceals the hole where the shower arm connects to the wall.
- Shower pan or base: The pre-formed or custom-built floor of the shower, designed to direct water towards the drain and prevent leaks.
- Shower drain assembly: A complete set of components, including the strainer and drain pipe, responsible for safely draining water from the shower.
- Water supply lines (hot and cold): Pipes that deliver hot and cold water from the main supply to the shower valve.
- Copper or PEX pipes: Common types of plumbing pipes used for water supply lines, with copper known for its durability and PEX appreciated for its flexibility.
- Pipe fittings (elbows, tees, couplings, etc.): Connectors used to join different lengths of pipes and change their direction, ensuring a proper plumbing layout.
- Plumbers putty or pipe thread sealant: Products used to create watertight seals between certain plumbing components, like sinks or shower drains, and the surrounding surfaces.
- Teflon tape: A thin, white tape wrapped around pipe threads to prevent leaks by providing a secure seal when connecting pipes and fittings.
- Pipe hangers and fasteners: Devices used to support and secure pipes to walls or ceilings, preventing excessive movement and potential damage.
- Cement board or waterproofing membrane: Materials applied to the shower walls to create a water-resistant barrier and protect the underlying structure from moisture damage.
- Silicone caulk: A waterproof sealant used to seal gaps and joints in various plumbing fixtures and prevent water from seeping into vulnerable areas.
- Wall Plugs
Step-by-Step Guide:
1. Plan and Design:
a. Consider the Location: Determine the best location for your shower unit in the bathroom, taking into account factors such as plumbing access, proximity to the main drain, and its relationship with other fixtures.
b. Measure the Space: Use a tape measure to carefully measure the available space for the shower. Consider the height, width, and depth to ensure that the chosen shower unit components, such as the shower base, walls, and enclosure, will fit comfortably.
c. Account for Clearances: Ensure that there is enough space for the shower door to swing open without hitting any obstacles. Also, allow for sufficient space for movement within the shower area.
d. Choose a Shower Style: Decide on the style and type of shower you want. It could be a walk-in shower, a shower with a bathtub combination, a corner shower, or a custom enclosure. Consider your preferences, as well as the needs and preferences of other users.
e. Sketch the Design: Create a rough sketch or use design software to visualise the layout of your shower. Include the location of the shower head, shower valve, drain, and any other fixtures you plan to install. Please be sure to include designs for sliding doors if these are what have been chosen.
f. Consult Building Codes: Check local building codes and regulations to ensure compliance with safety and structural requirements. Some areas may have specific regulations regarding the minimum shower size, waterproofing, and drainage.
2. Turn Off Water Supply:
a. Locate the Main Shut-Off Valve: Find the main water shut-off valve for your house. It is usually located near the water meter or where the main water supply enters your home.
b. Shut Off the Water Supply: Turn the valve clockwise until it is fully closed. This will cut off the water supply to the entire house or the specific area where you'll be working on the shower.
c. Release Pressure: Open a few faucets or taps in your home to release any remaining water pressure in the pipes. This step helps prevent any sudden bursts of water when you start working on the plumbing.
3. Prepare the Shower Area:
a. Clear the Space: Remove any existing fixtures, debris, or unnecessary items from the shower area to create a clean and clutter-free workspace.
b. Check for Structural Integrity: Inspect the walls, floors, and subfloor for any signs of damage, rot, or mold. Repair or replace any compromised areas before proceeding with the installation.
c. Create a Shower Curb or Sloped Floor (If Necessary): If you're installing a walk-in shower or a custom shower base, you may need to construct a shower curb or a sloped floor to ensure proper drainage. Use appropriate materials like mortar or cement board to build these features securely.
4. Install the Shower Drain:
a. Follow Manufacturer's Instructions: Each shower unit drain assembly may have specific installation guidelines provided by the manufacturer. Carefully read and follow these instructions to ensure a proper and watertight installation.
b. Position the Drain: Place the drain assembly at the centre of the shower floor, ensuring it aligns with the shower base or the sloped floor's drain point.
c. Secure the Drain: Use screws or fasteners provided with the drain assembly to secure it in place. Apply a layer of plumber's putty or pipe thread sealant between the drain flange and the shower floor to create a watertight seal.
d. Connect to the Drain Pipe: Attach the drainpipe to the drain assembly according to the manufacturer's instructions. Use appropriate fittings and ensure a tight connection to prevent leaks.
5. Install the Shower Base:
a. Check the Level: If using a pre-made shower base, position it over the drain and check its level using a level tool. Make necessary adjustments to ensure the base sits flat and level on the floor.
b. Secure the Base: Use the screws or fasteners provided by the manufacturer to secure the shower base to the floor. Ensure it is firmly attached to prevent movement and potential leaks.
c. Seal the Edges: Apply silicone caulk around the edges of the shower unit base where it meets the walls or the shower curb. This creates a waterproof seal and prevents water from seeping underneath the base.
d. Test the Drain: Pour water into the shower base and check for any leaks around the drain assembly. Tighten connections or reapply sealant if needed.
6. Install the Shower Valve:
a. Locate the Valve Position: Determine the ideal height for the shower unit valve, typically around 48-52 inches from the floor, considering the comfort of the users and the placement of other fixtures. Mark the position on the wall using a pencil.
b. Cut the Opening: Use a hole saw or a reciprocating saw to cut an opening in the wall to accommodate the shower valve. Be sure to measure the valve's dimensions and follow the manufacturer's instructions for the correct hole size.
c. Mount the Valve: Slide the shower valve into the opening and secure it to the wall using screws or mounting brackets provided with the valve. Ensure the valve is level and aligned properly with the shower's design layout.
d. Connect Water Supply Lines: Attach the hot and cold water supply lines to the corresponding inlets on the shower valve. Use appropriate fittings, such as threaded adapters or compression fittings, to make a secure connection. Tighten the fittings with a wrench but be careful not to overtighten and risk damaging the threads.
e. Pressure Test: Before closing the wall, perform a pressure test to check for any leaks in the shower unit valve and water supply connections. Turn on the main water supply and allow water to flow through the valve. Inspect for leaks around the valve and connections. If any leaks are detected, tighten the connections or make adjustments accordingly.
7. Connect the Water Supply Lines:
a. Cut the Pipes: Measure and cut the copper or PEX pipes to the appropriate lengths, ensuring a clean and square cut for accurate fittings and connections.
b. Clean and Deburr (for Copper Pipes): If using copper pipes, use a pipe cleaner or emery cloth to remove any burrs and rough edges from the pipe ends to ensure a smooth and clean surface for soldering.
c. Prepare PEX Pipes (for PEX Pipes): For PEX pipes, ensure the ends are cut cleanly, and use a PEX crimp tool or push-fit fittings designed for PEX to make secure connections.
d. Attach the Fittings: Slide compression fittings or soldered fittings onto the pipe ends and secure them with a wrench or solder them in place. Apply flux (for soldering) and heat the fitting until the solder melts and creates a watertight seal.
e. Connect to the Shower Valve: Attach the other ends of the water supply lines to the corresponding inlets on the shower valve. Use appropriate fittings and make sure they are tightened securely.
8. Install the Shower Arm and Head:
a. Apply Teflon Tape or Pipe Thread Sealant: Wrap Teflon tape around the threads of the shower arm to create a tight and waterproof seal. Alternatively, apply pipe thread sealant to the threads for an effective seal.
b. Attach the Shower Arm: Screw the shower arm into the shower valve outlet until it is hand-tight. Use an adjustable wrench to give it a final snug turn without over-tightening.
c. Attach the Shower head: If the shower head comes with a separate mounting bracket, secure it to the shower arm first. Then, attach the shower head to the bracket. Use the appropriate tools to tighten the connections securely.
9. Waterproofing and Wall Preparation:
a. Install Cement Board or Waterproofing Membrane: If you haven't done so already, apply cement board or a waterproofing membrane to the shower walls. This will create a barrier to prevent water from penetrating the walls and causing damage.
b. Seam and Corner Sealing: Use waterproofing tape or membrane to seal the seams and corners of the cement board or membrane. Follow the manufacturer's instructions for proper application.
c. Allow Adequate Drying Time: Give the waterproofing material enough time to dry and cure properly before proceeding with the tiling or other wall finishes.
10. Connect the Drain Pipe:
a. Check the Drain Connection: Ensure that the drain pipe is properly aligned with the shower drain assembly. Use a level to confirm that the drain pipe has the correct slope to facilitate efficient water drainage.
b. Use Appropriate Fittings: Depending on the type of drain assembly, use compression fittings or solvent cement (for PVC) to secure the drainpipe to the drain assembly.
c. Test for Leaks: Turn on the water supply and let water flow through the shower drain. Check for any leaks around the drain connections and fix any issues that may arise.
11. Test for Leaks:
a. Turn on the Water Supply: Reopen the main water shut-off valve to restore the water supply to the shower. Be cautious and observant for any sudden bursts of water or leaks during this process.
b. Inspect the Connections: Carefully inspect all the connections and fittings in the shower plumbing. Start with the shower valve connections, followed by the water supply lines, the shower arm, and the showerhead connections.
c. Check for Drips or Leaks: Keep an eye out for any drips, drops, or visible leaks around the connections. Use a flashlight to help identify any hard-to-reach areas where leaks might occur.
d. Use Tissue or Paper Towel: To check for small leaks that might not be immediately visible, use a tissue or paper towel to blot and wipe around the connections. Any moisture will be noticeable on the tissue, indicating a potential leak.
e. Make Necessary Adjustments: If you detect any leaks, turn off the water supply immediately, and carefully tighten the loose connections using the appropriate tools. For threaded connections, use an adjustable wrench to make slight adjustments without overtightening and risking damage. For soldered or crimped connections, ensure they are properly secured.
f. Re-Test: After making adjustments, turn the water supply back on and re-test for leaks. Continue this process until no leaks are detected.
12. Seal Gaps and Joints:
a. Clean the Surfaces: Before applying silicone caulk, ensure that the surfaces are clean and free of dust, debris, and any old caulk remnants. Use a suitable cleaner to clean the areas where the caulk will be applied.
b. Cut the Caulk Tube Tip: Cut the tip of the silicone caulk tube at a 45-degree angle to create an opening of the desired size. A smaller opening will provide more precise application, while a larger opening will allow for faster work.
c. Apply the Silicone Caulk: Begin applying silicone caulk to seal the gaps between the shower pan/base and the walls. Use a steady hand and apply consistent pressure on the caulk tube to ensure a smooth and even bead of caulk.
d. Use a Caulk Gun: For more extensive caulking, consider using a caulk gun for better control and easier application.
e. Smooth the Caulk: After applying the caulk, use a caulk smoothing tool or a damp finger to smooth and shape the caulk line. This step helps create a neat finish and ensures a proper seal.
f. Caulk Around Shower Valve Trim and Showerhead Arm Flange: Repeat the caulking process around the shower valve trim plate and the showerhead arm flange. This will prevent water from seeping into wall cavities and causing damage.
13. Finishing Touches:
a. Install Additional Features: If you plan to add shelves, grab bars, or seating in the shower, follow the manufacturer's instructions for proper installation. Use wall anchors or secure the features directly into the wall studs to ensure stability and safety.
b. Consider Aesthetics: Choose finishes and styles that complement the overall design of your bathroom and shower area. Aesthetically pleasing features can enhance the appearance of the shower and add value to the overall bathroom design.
c. Verify Stability and Safety: Double-check the sturdiness and safety of any installed features. Give them a gentle shake to ensure they are securely attached and won't wobble or come loose over time.
By completing these final steps, your shower installation is nearly complete. After allowing the caulk to cure fully, you can enjoy the satisfaction of a beautifully plumbed and well-sealed shower, ready to provide you with refreshing and enjoyable experiences for years to come.
Plumbing a shower requires careful planning, precise execution, and attention to detail. By following this step-by-step guide and using the right tools and materials, you can confidently tackle this DIY project and enjoy the satisfaction of a well-plumbed and fully functional shower.
Always remember to consult local building codes and regulations and seek professional help if you encounter any challenges beyond your expertise. For more expert advice on plumbing in London, please contact Quantum Electrics.